ViewFinder™ Tutorial
Step-by-Step PowerPoint Instructions for Scanning Workflow

This tutorial of our ViewFinder Digital Capture Control Software was created to help our new owners' get a more successful start in understanding the capabilities of this application, and achieve higher quality results from their camera system...right from the first scan!

You can follow along with a start-to-finish review of the scanning process, using the ViewFinder software to neutralize the color balance, set an appropriate contrast curve, check the accuracy of the focus, then select the cropping and the amount of resolution for the final capture.

blue arrow DOWNLOAD THE TUTORIAL...just a click away
PDF File 18.2 MB

Chapters include:
• Balancing Light with Tone Zones
• Steps to a Perfect Scan
• Digital Focus Verification Tool
• Final Capture Settings
• Changing Contrast with Tone Curves
ViewFinder TUTORIAL - Practice Prescan File (3.4MB Zip File)
You can use this prescan to work along with the ViewFinder tutorial without the scanning back connected to the computer.

Open your ViewFinder application and hold the Option (Mac) or Alt (Windows) key down and click the Prescan button. A menu window will open to allow you to locate this prescan file on your hard drive. Select the file and click “Open”. The image will load into the ViewFinder preview window, just as it would with a camera-created prescan.

All functions except Focus can be used to increase your understanding of the software. Color balance, Tone Curve adjustments, Tone Zones, Cropping, etc. can all be used in the same way as if working with a live scanning back setup.

Download Practice File

blue arrow DOWNLOAD THE TUTORIAL...just a click away
PDF File 18.2 MB

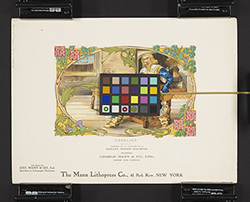
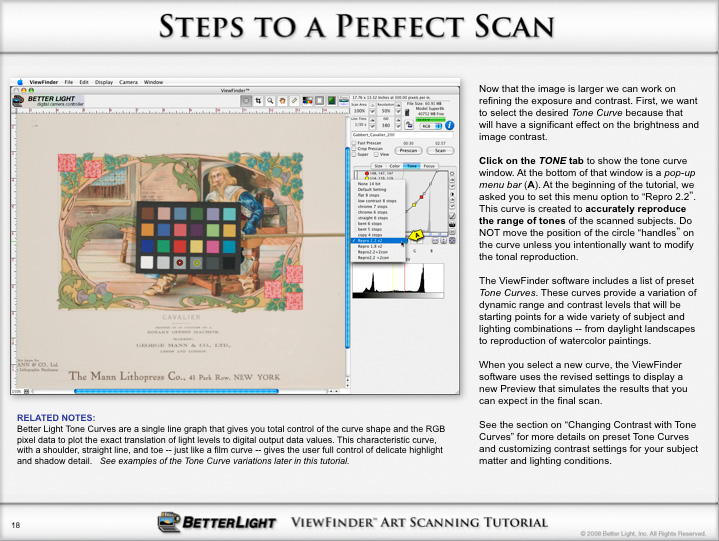
The image above is a sample from the PowerPoint tutorial. The presentation walks you through the scanning process step-by-step with text to explain what to do...just like having a personal trainer at your side (...well, almost!). Notations below the screen ( "Related Notes") give some additional insight into the photographic techniques so you know why you are doing each step.